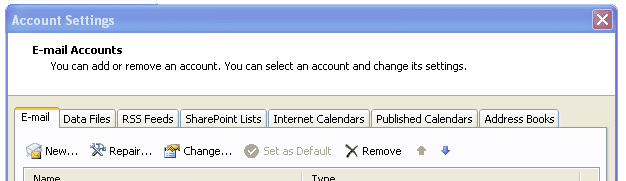
1. From Outlook, click on “File” in the top toolbar, then “Info”, and then select “Account Settings” from the “Account Settings” drop-down menu.
2. From the E-Mail Account settings, select the “New” icon to create a new account. You should get a screen that looks like this.
3. Choose “E-Mail Account” from the service options, and then select “Next” to be brought to the Account Setup page.
4. Then, select the “Manually configure server settings or additional server types” dial on the Auto Account Setup page and click “Next”
5. Select the “Internet E-Mail” dial on the Choose Service page. Click “Next” to continue on to the User Information page.
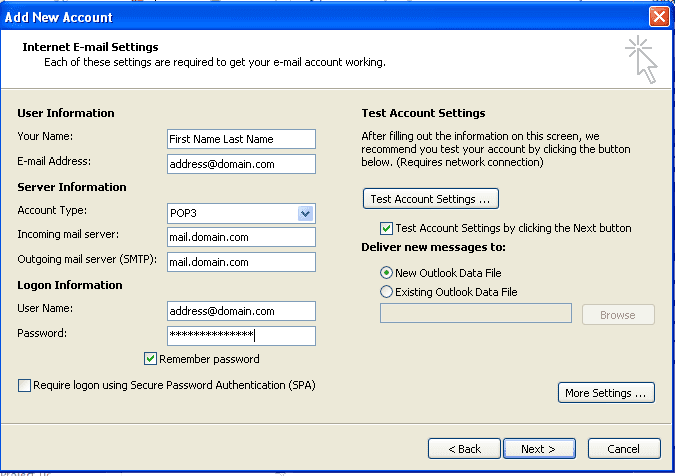
6. Review all information. Make sure the remember password box is checked. You email address in its entirety is the username. Click on “More Settings” on the bottom right.
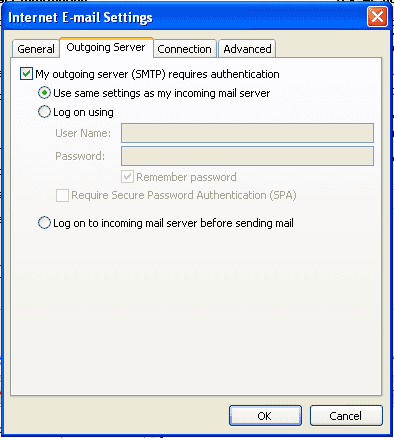
7. From the “Outgoing Server” tab, select the “My outgoing server (SMTP) requires authentication” box.
- 8. Make sure the “Use same settings as my incoming mail server” dial is selected and then continue on by clicking on the “Advanced” tab.
- 9. Change the Outgoing server (SMTP) to 25 or 2525.
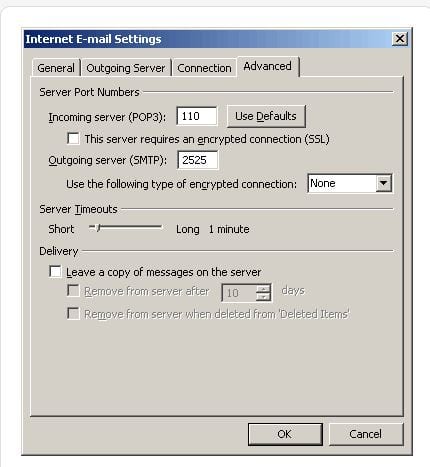
10. To finish, click OK, click Next, and then click Close.
E-Mail- Setup Outlook 2010 for POP Accountadmin2020-03-11T17:23:38+00:00